Nailed It - Oct/Nov 2023
Craft your own vintage coin keepsake box
Craft your own vintage coin keepsake box
Keep your modern trinkets and the family’s old coins together in this fusion of materials.WHAT YOU WILL NEED
- Wooden box
- Vintage coins
- Epoxy resin
- Chalk paint
- Paint brush

Step 1
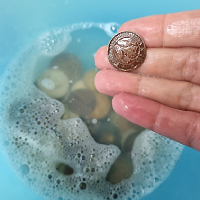
Wash old coins in soapy water – I left mine overnight in soapy water, let them dry and polished the dirty ones with a Dremel (optional).
In the meantime, you can paint your wooden box in your preferred colour and let it dry completely.
Step 2
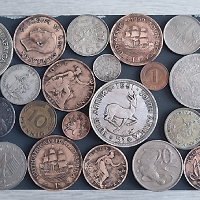
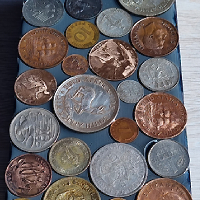
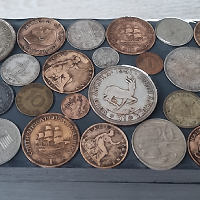
Lay out your coins once the painted box is dry.
Step 3
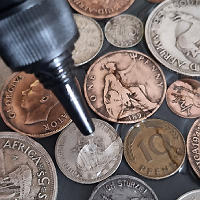
Apply Epoxy Resin (mix according to product instructions) evenly over the coins taking care not to let the resin drip off the sides.
Step 4
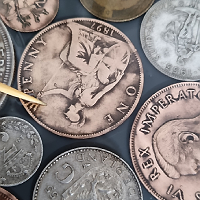
Remove any air bubbles carefully with a toothpick.
Step 5
Let the resin cure for 24 - 48 hours in full sunlight – avoid any dust or leaves settling on the uncured resin. It might take longer depending on the humidity.
Step 6
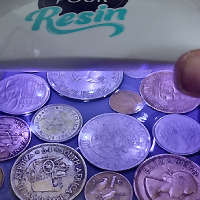
If you are using UV Epoxy Resin like I did, cure it under a UV light for 3 minutes until completely done, then let it cure for 24 hours in full sun
RESULT
I added a piece of felt material on the inside to protect any valuable memorabilia that I want to store in my vintage coin box.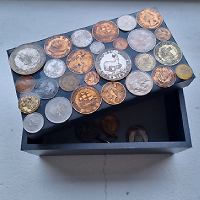

Lindie Loock
Lindie is married to John Loock. She lives in Swakopmund and has three children.
She enjoys crafting and exercising in her spare time.

