Nailed It - Aug/Sep 2023
Let’s build a garden arch
Let’s build a garden arch
I did this project in collaboration with my dad, Nickey van Zyl, who is a skilled craftsman and who took the lead in this month’s Nailed It. This project requires a high-skill level and woodwork experience.*Our final design measured height:
2.1 m (2 m from centre of roof); depth 80 cm; width 1.4 m.
WHAT YOU WILL NEED
- Paint brush
- Wood sealer
- Wood screws (50x 40 mm, 50x 60 mm, and 20x 75 mm – estimated quantities)
- Drill
- Drill bit according to screws’ head sizes
- Sandpaper (350 grit) and sander
- Wood glue
- Mitre saw or hand saw
- Pine wood for struts and roof (5x 3 m lengths, 50 x 70 mm)
- Wood for sides and roof (we used salvaged Meranti wood from a previous project)
Time for some tea!
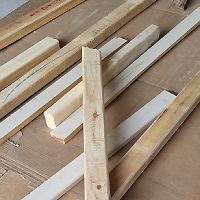
Step 1
Measure the length of the pinewood for struts and roof and cut according to your desired height, adding 30 cm for installation. We cut to 2.5 m. Cut four pieces of 70 cm for crossbars at the bottom and top of the struts.
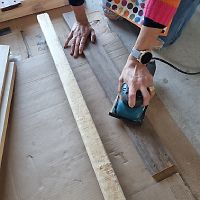
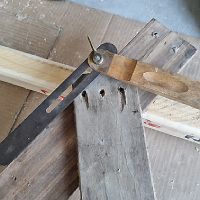
Step 2
Cut the roof of the arch according to your desired height and measure the angle of the arch. Ours was 20 degrees throughout. Sand all the pieces.
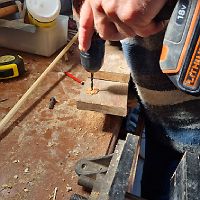
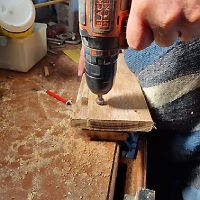
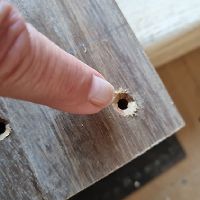
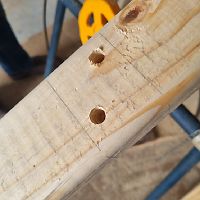
Step 3
If you are using hardwood (meranti), drill guide holes before inserting the screws. We also drilled sunken holes with a countersink drill bit.
Step 4
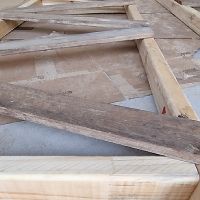
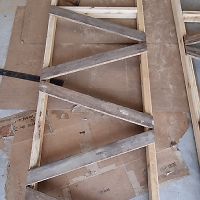
Lay out the planks for the sides in any pattern and cut to length.
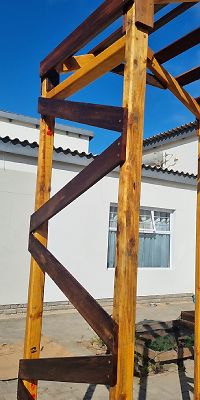
Step 5
Glue the crossbars for the struts 10 cm from the top and 40 cm from the bottom with wood glue before fixing with 75 cm screws (2 on each side). Ours measured 80 cm and were set at 20 degree angles. Remember to lay out the pattern in mirror format on the other side of the arch if you want it to look similar. Use wood glue and the 60 cm screws.
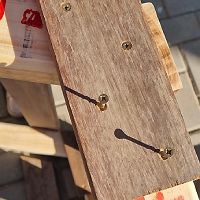
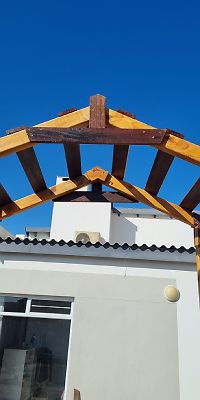
Step 6
Attach the roof to the struts with wood glue and 70 cm screws (2 on each corner), drilling them from the top of the roof. We strengthened the apex of the roof with a smaller piece of wood on the inside (40 cm screws and wood glue; Pic 6a) as well as on the sides – both on the inside and outside.
Step 7
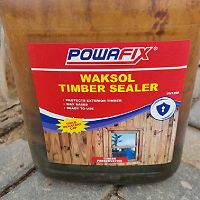
Seal the wood with any wood outdoor sealer. Apply a second coat after the first has dried thoroughly. We used Powafix Waxsol Timber Sealer. If you are painting outside, wait for a calm, sunny day without wind.
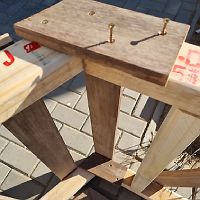
RESULT
For added strength and appearance you can also add a crossbar on the apex of the roof. We also added a temporary crossbar at the front and back of the arch to strengthen it during transport which will be removed before installation.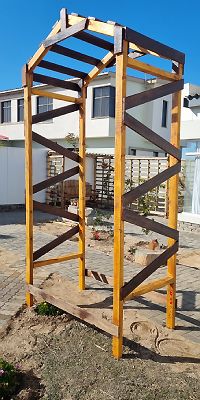

Lindie Loock
Lindie is married to John Loock. She lives in Swakopmund and has three children.
She enjoys crafting, designing and exercising in her spare time.


