Nailed It - Jun/Jul 2023
Store your private goodies in a keepsake box
Store your private goodies in a keepsake box
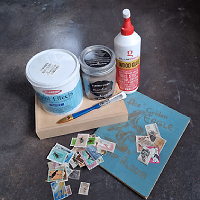
WHAT YOU WILL NEED
- Chalk paint
- Cold glue
- Paintbrushes
- Sealer/podge
- Wooden box
- Vintage stamps/gift cards or tags
Step 1
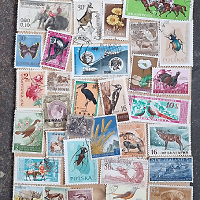
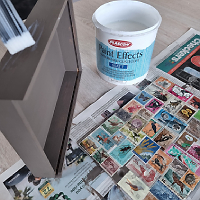
Lay out the stamps on the lid of the box and take a picture for reference (step 3)
Step 2
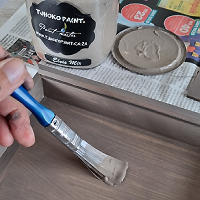
Paint the box and lid with 2 or more layers of chalk paint. Let the paint dry between layers.
Step 3
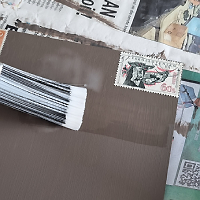
Paint a small area with cold glue (I thinned mine with a little water in a glass jar) and glue the stamps using your reference photo.
*I did the top third and then the bottom third of the lid, finishing in the middle.
*Use a thin layer of glue to prevent the stamps from wrinkling.
Fill in gaps with smaller stamps if needed.
Step 4
Finish the lid and box with 2 layers of sealer, painting each layer at right angles. Let dry between layers.
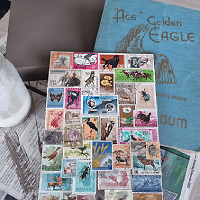
RESULT
Now your memory box is ready to store all your fondest trinkets.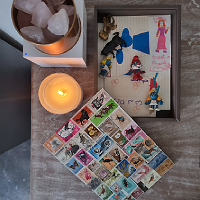

Lindie Loock

