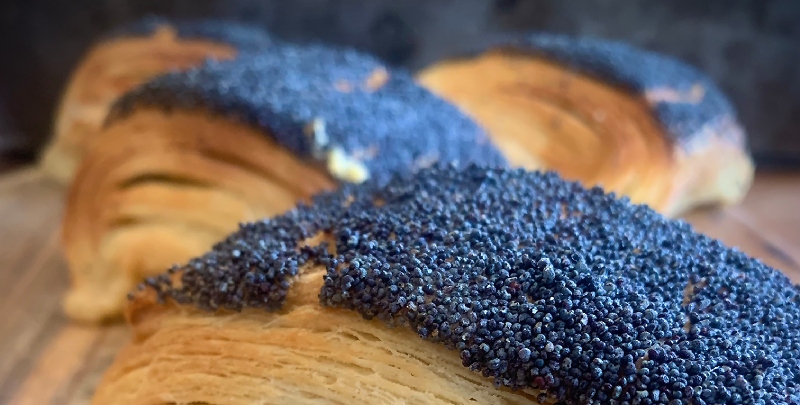
Wienerbrød* (Danish pastry)
 Recipe by
 Ingredients
For the layers
Creating real Danish pastry is a lot of work, so set aside a Saturday afternoon and just enjoy the process. Henriette, originally from Denmark and married to a Namibian now, will show us how to create this work of art!
Method
- Pour the milk into a bowl, sprinkle over the yeast and whisk together. Cover with cling film/plastic wrap and leave in a warm place for about 15 minutes to activate and become frothy and bubbly.
- Pour into a mixer with the dough hook attached.
- Stir in the sugar and softened butter, then mix the flour with the salt and start to add, bit by bit. Add the egg halfway through together with the remaining flour. Keep mixing with the dough hook for a good 5 minutes. The dough should still be a little sticky.
- Cover the bowl with cling film and leave to rise for an hour or until doubled in size.
- Turn the dough out onto a floured surface and knead through, adding more flour as needed until you have a stretchy, workable dough and then roll the dough out into a large square 35 x 35 cm.
- For the filling, mix the butter with the flour into a just mouldable ball using your hands. It’s important this mixture ends up being a similar consistency and workability to the dough – this will make it easier to roll. If your hands are too warm, use a rolling pin and beat the butter flat between two sheets of baking paper. Flatten the butter out to a square around 25 x 25 cm, then place this butter square onto your dough at a 45-degree angle so that the dough corners can fold back in to cover the butter. Carefully fold the dough corners over the butter until you have completely enclosed it – a bit like making an envelope!
- Dust with flour and very carefully roll out the package to a rectangle of about 30 cm x 50 cm.
- Fold the layers the short way twice (1/3 over and 1/3 over) so you end up with a rectangle approximately 30 x 15 cm (3 layers of dough). It is important that you roll carefully so that the butter always stays inside the pastry package.
- Place the dough on the prepared baking sheet, cover with cling film and chill for 15 minutes in the refrigerator. This will help the butter chill so you can keep working it.
- Repeat step 7-9 two more times, so you have 9 layers of dough. Again, rest the dough in the fridge for 15 minutes, then repeat the rolling process again so you end up with yet another rectangle in 3 folds with 27 layers of butter in total. After a final rest in the refrigerator, your pastry is now ready to shape into whatever pastry you want to bake.
- At any stage during the making of Danish pastries, if your hands or the dough get too warm, step back and cool things down a bit, as this can spoil your end result.
- You can now go crazy with your fillings. This pastry is fantastic for jam fillings or custard fillings. Danish pastry baking time varies depending on your pastry size, but you bake it at 200 °C until flaky and golden brown.
*This is a sweet, multilayered pastry which originated in Austria. Danish bakers over time adapted and refined the recipe to their own taste. It consists of yeasted dough, similar to croissants, resulting in a flaky, layered texture. Delectable!

Recipes edited, tested, styled & photographed by


HouseFinder Namibia. © 2019, All rights reserved
Disclaimer
Privacy Policy
Another website escaped from the 